Custom Domain and SSL
This page explains how to set up SSL for your custom domain on the Appsmith instance.
Prerequisites
Before configuring SSL for your custom domain, make sure you have the following:
- A self-hosted Appsmith instance. See the installation guides for installing Appsmith.
- A domain name - You can get a custom domain from popular providers like GoDaddy, Amazon Route 53, Digital Ocean, NameCheap, and Domain.com.
- Ports 80 and 443 are open and accessible.
You can use your custom domain with the HTTP protocol, even if you haven't set up an SSL certificate yet. However, it's recommended to configure SSL to ensure secure connections by using HTTPS. You can either set up SSL using Let's Encrypt or add a custom certificate to secure your connections.
For Appsmith Kubernetes installation, see How to configure TLS on Kubernetes.
Configure SSL (HTTPS) with Let's Encrypt
Appsmith uses Let's Encrypt to generate and maintain the certificate so that it remains up to date. On Appsmith, you can add your custom domain and auto generate an SSL certificate for it by using one of the following ways:
Let's Encrypt does not support provisioning a certificate for ephemeral domain names since they are high-risk.
Admin settings
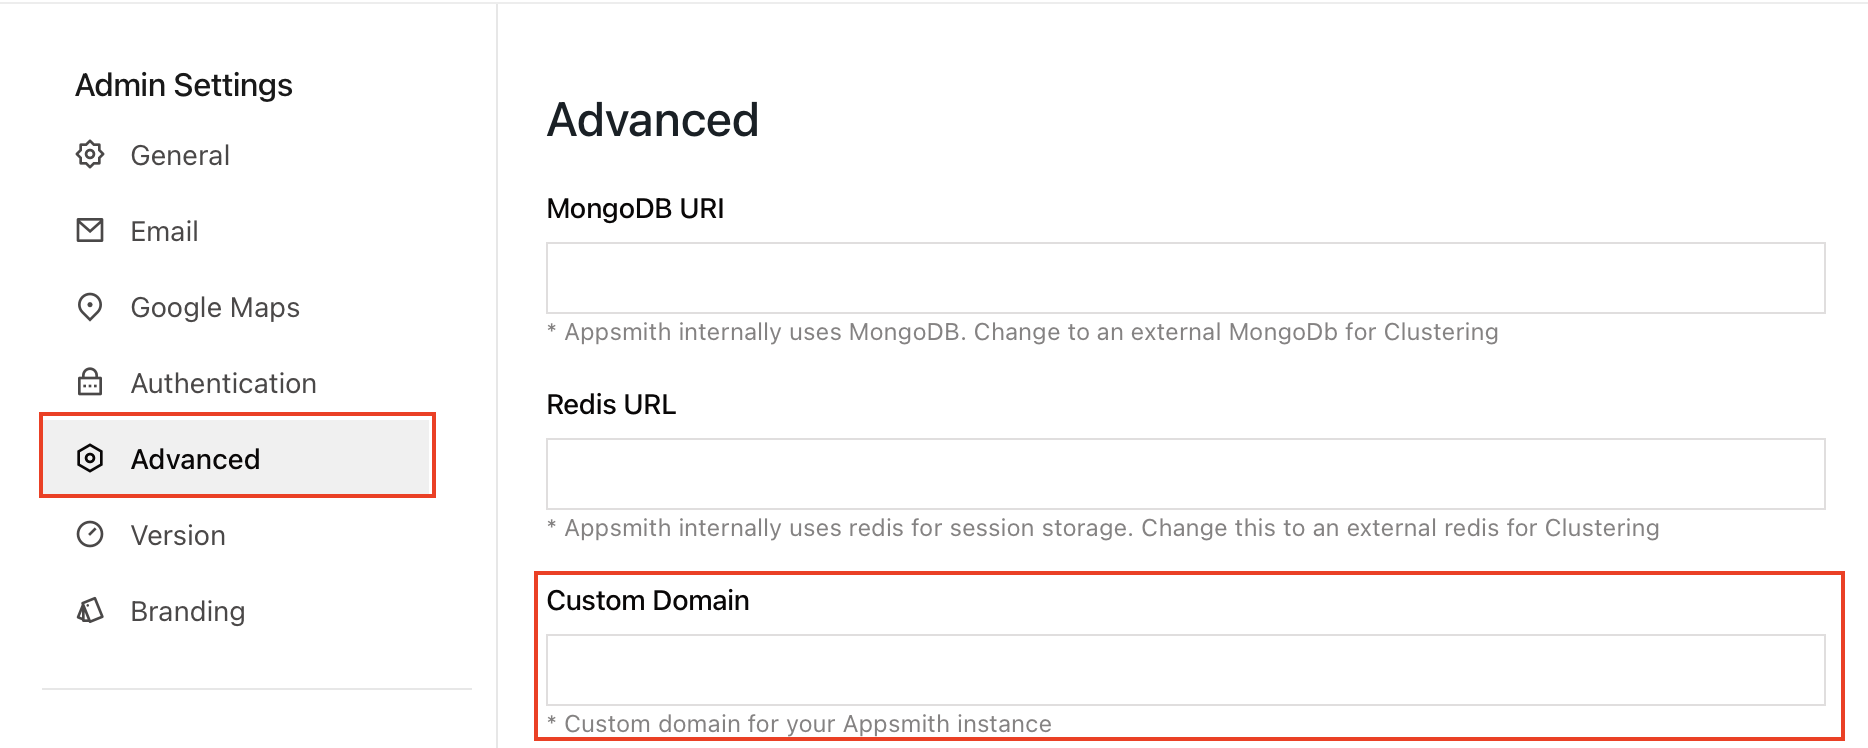
You can use Admin Settings to set up a custom domain and generate an SSL certificate for it. The Custom Domain property is available under Advanced Settings. Add the domain name to the Custom Domain setting and click the SAVE & RESTART button. The SSL can be auto generated by using the Custom Domain setting for all your installation types except Kubernetes. For more information about how to set up TLS on Kubernetes, see How to configure TLS for Appsmith Kubernetes installation.

When you restart Appsmith, it generates an SSL certificate for your custom domain. You can now use your custom domain mapped to port 443 via HTTPS to access Appsmith in your browser.
If you have set values using environment variables for your instance, those values take precedence over values specified in the Admin Settings UI.
Environment variables
Appsmith is deployed on a Docker container. To generate an SSL certificate, add the custom domain to the environment variable APPSMITH_CUSTOM_DOMAIN in a docker.env file. Follow the steps below:
Navigate to the docker.env file located in the installation root folder. For example, if you are using Docker installation, you can locate the file in the <PROJECT_ROOT>/stacks/configuration file. Similarly, the file is in the /home/ubuntu/appsmith/stacks/configuration folder on AWS AMI.
- Update the key
APPSMITH_CUSTOM_DOMAINas shown below:
APPSMITH_CUSTOM_DOMAIN=<ADD_CUSTOM_DOMAIN_HERE>
- Restart the Appsmith container by using the following command:
docker-compose restart appsmith
When you restart Appsmith, it generates an SSL certificate for your custom domain. Once the restart is successful, you can use your custom domain mapped to port 443 via HTTPS to access Appsmith in your browser.
Configure custom SSL
If you want to configure a Custom SSL on your Heroku or DigitalOcean Appsmith installation platform, follow the steps as listed in the guides below:
If you already have an SSL Certificate and want to use that, follow the steps listed below:
- Rename the certificate file as
fullchain.pemand the key file asprivkey.pem. - Copy these files into the subdirectory
<MOUNTING-DIRECTORY>/ssl/. Ensure that you change<MOUNTING-DIRECTORY>by the mounting volume directory available in thedocker-compose.yml. For example, the default value is./stacks. - Add your Custom Domain to the environment variable
APPSMITH_CUSTOM_DOMAINin thedocker.envfile. - Restart the container using
docker-compose restart appsmith
The container uses the certificate if the files are present in the <MOUNTING-DIRECTORY>/ssl folder.
Troubleshooting
If you’re having issues accessing Appsmith after Appsmith SSL Configuration, please see the Unable to Access Appsmith troubleshooting guide.